PRECONDITIONS
A Power BI report can be published to a pro or personal workspace. If you do not have "Pro" license you may only publish report to you personal workspace for individual use. This workspace exists by default and you do not need to create it.
- To add shared workspace you need a Pro license.
- The use of paginated reports requires a premium license.
Related sources from Microsoft:
Instructions
When you started working with Power BI Desktop, configured connection string and ready to share report follow instructions to upload report to the workspace.
Create shared workspace
This step may be skipped if you publish report to the existing workspace, which you have access.
- Open app.powerbi.com in your web browser.
- Create a shared workspace in Power BI service.
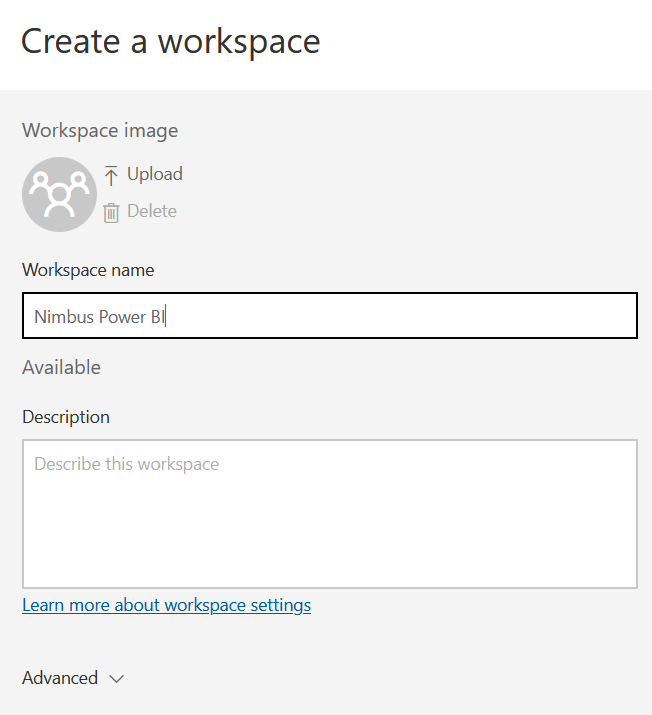
- Give it a descriptive name.
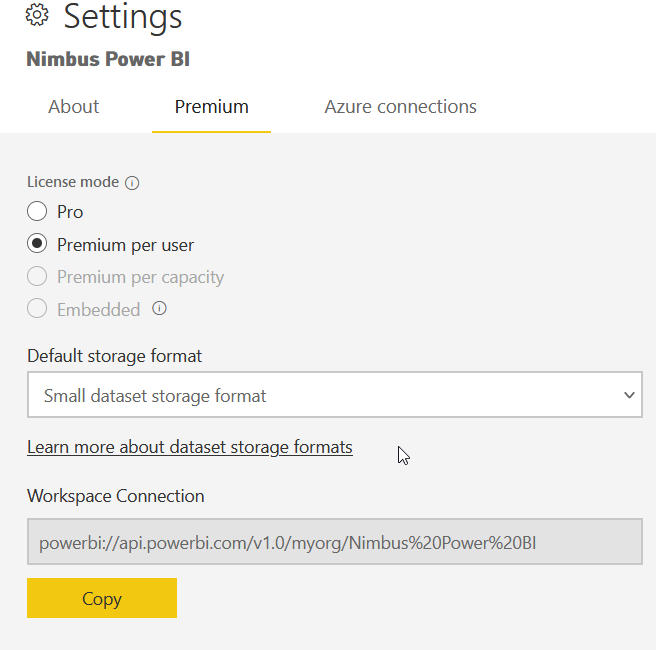
- If you going to use Premium features, such as paginated reports, you need set appropriate License Mode.
Sign In
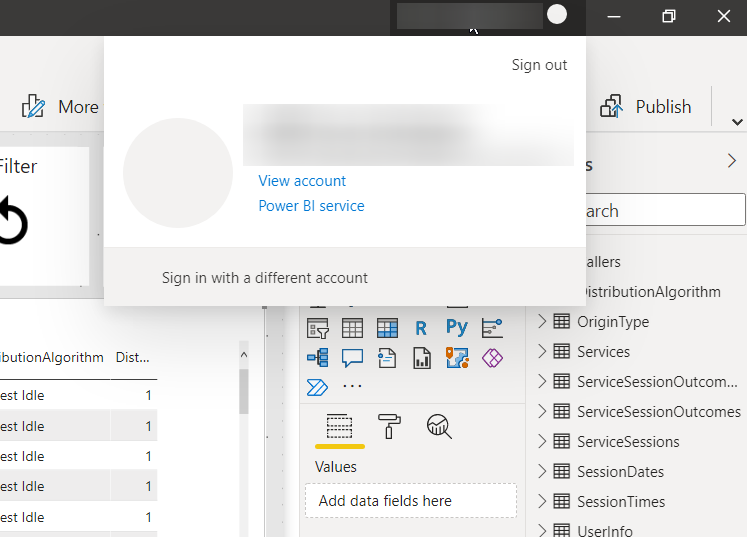
- Open Power BI Desktop
-
Sign In to Power BI with your Microsoft account
Publish Report
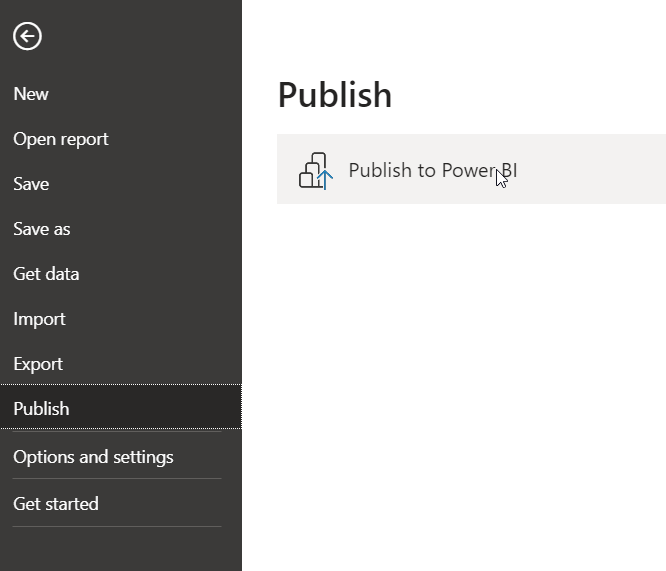
- Go to File > Publish > “Publish to Power BI”
-
Select a destination and click "Select" button
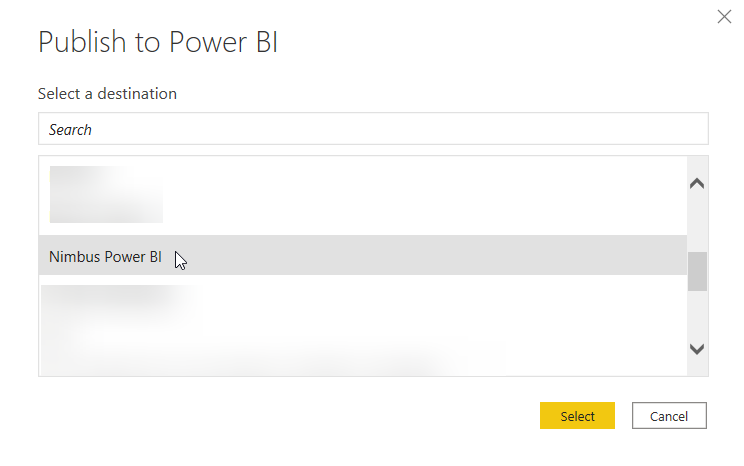
-
Wait until "Publishing to Power BI" is completed successfully.
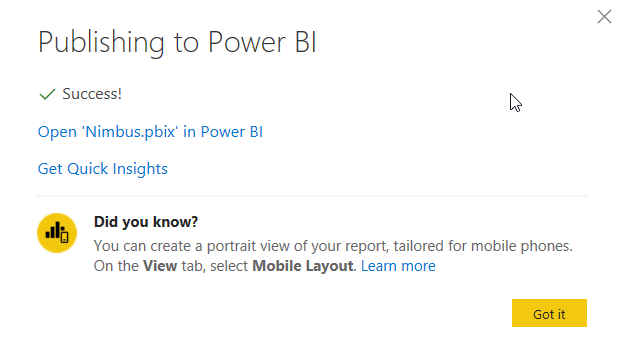
-
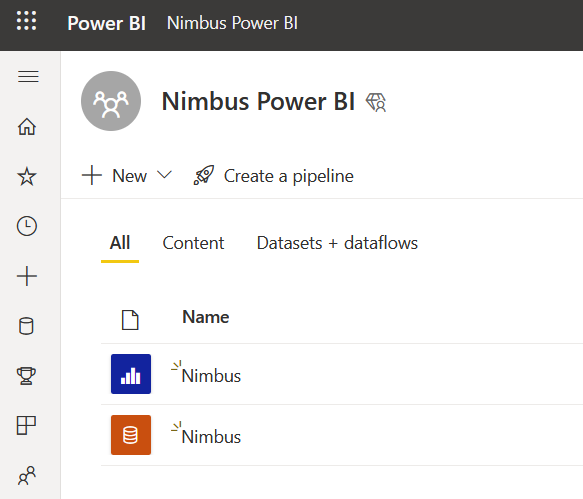
Check that you report and dataset are available at Power BI web site
Keep you data up to date with scheduled refresh
- Select ... "More Options" for the Power BI dataset
-
Click on Settings

-
Expand the "Scheduled refresh" section
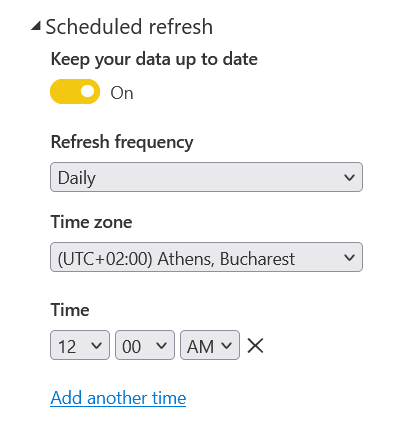
-
Add refresh times.
💡 You may add up to 48 refresh cycles for one day with a 30 minutes interval.