The default Nimbus Power BI Template provides an account based security level. This means, that a user only sees data of the service(s) she/he is a member of. Within viewing that data there is no other restriction. The user can see the performance of the whole team.
In this Use Case, we want to add row-level based security into the report. We want to achieve the following:
- Establish one central account to share the report with all Nimbus Service users.
- Enable row-level security for different roles working with reporting data and assign these roles to Nimbus Service users.
PRECONDITIONS
- One Power BI Pro account is needed to manage the row-level security. Please note that this licensing is outside of your Luware Nimbus subscription.
- You need Tenant Administrator rights to create O365 users and assign them to Nimbus teams.
🔎 Alongside this Use Case we strongly recommend consulting this source:
Row-Level security (RLS) with Power BI documentation by Microsoft.
INC Icon Legend Accordion
Show Icon Legend
| 💡 = A hint to signal learnings, improvements or useful information in context. | 🔍 = Info points out essential notes or related page in context. |
| ☝ = Notifies you about fallacies and tricky parts that help avoid problems. | 🤔 = Asks and answers common questions and troubleshooting points. |
| ❌ = Warns you of actions with irreversible / data-destructive consequence. | ✅ = Intructs you to perform a certain (prerequired) action to complete a related step. |
Example User Structure
In our example we work with the following services and users:
User |
Nimbus Service(s) |
Power BI license |
Role description |
|---|---|---|---|
| Agent1@qnnb.onmicrosoft.com | A - Helpdesk (Enterprise Routing) | none | Agent |
| Supervisor@qnnb.onmicrosoft.com | A - Helpdesk (Enterprise Routing) | none | Supervisor of the Enterprise Routing service |
| Agent2@qnnb.onm | B - Customer Service (Contact Center) | none | Contact Center Agent |
| reporting@qnnb.onmicrosoft.com |
A - Helpdesk (Member) B - Customer Service (Service Supervisor, User Supervisor) |
Pro | Central Reporting Resource Account |
How-To Steps
Create a central reporting resource account
-
In the O365 Admin Portal, create a reporting user account.
✅ Note that if you are using Contact Center, this account needs to be licensed for Contact Center. - In the Nimbus Admin Portal, and go to the User Administration. Add the account and assign the Nimbus Service Supervisor and Nimbus User Supervisor roles for all OU's to it.
🔎Note that Supervisors also have access rights in the Nimbus UI. Read Portal Roles for more details.
Open the report with the central reporting resource account
- Open the report template Nimbus.pbit and connect to the data with the central reporting account.
🤔 How to connect? Read our Power BI chapter to learn how to connect users to your Nimbus reporting data. - 💡 Tip: If the report had already been opened with another account, you may switch the account:
- Go to Files -> Options and Settings -> Data sources
- Select "Edit Permissions" and Edit the Organizational account.

- Afterwards, refresh your data source.
✅ Checkpoint: Ensure that the report fully refreshes with your signed-in user. → Once you see data of all services, go to the next step.
Create the row-level roles
- Within Power Bi Client, go to Modeling > Manage Roles
- Set the roles according to your needs. Here are some useful role filters:
Role name |
Description |
DAX Filters |
|---|---|---|
| Agent | Should only see statistics for own services and calls where personally involved. | Filter on Table Users: [Upn]=UserPrincipalName()
|
| Agent 30 days View | Should only see statistics for own services and calls where personally involved AND only data for the last 30 days |
Filter on Table Users: Users: Filter on Table SessionDates: |
| OU Supervisor | Should only see data for Users and Services of a specific OU |
Filter on Table Services: Filter on Table Users: |
☝ The DAX expression UserPrincipalName() returns the Microsoft Entra ID User Principal Name (UPN) of the current user. If you test these roles with the global resource account, you won't see any difference.
💡 You do not need to filter on Services, because the service is already filtered on account level.
- Once done configuring all roles, save the BI report.
Optional: Hiding a central reporting resource account
If you want to hide the Global Reporting Account from users, you can use a filter "Transform Data" on the Users Table as described here: Use Case - Filtering the BI Report data model quickly
Share the Power BI report and assign the roles to the users
- Go to https://login.microsoftonline.com/ and sign in with the global reporting account. In our example with reporting@qnnb.onmicrosoft.com
-
🔎 Share the report as described in this Use Case Publish to Power BI service.
Show me an excerpt of steps
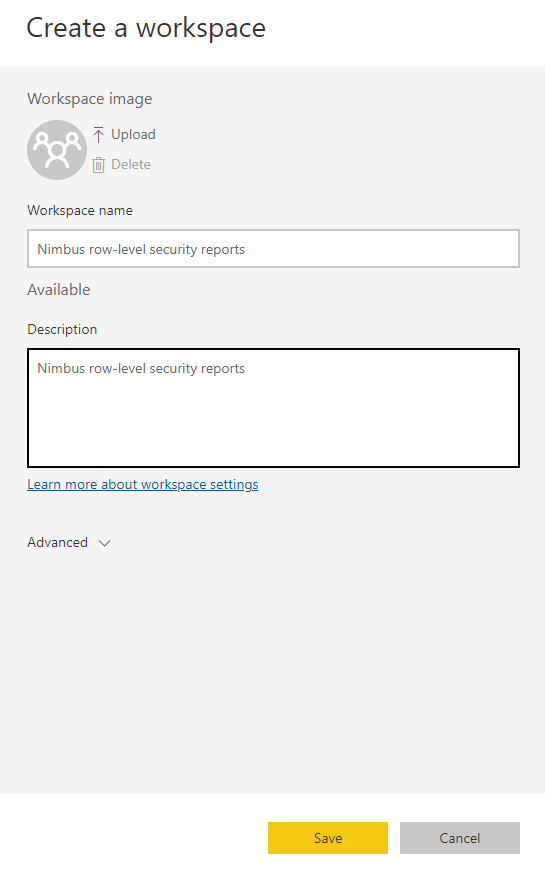
First - Create a workspace
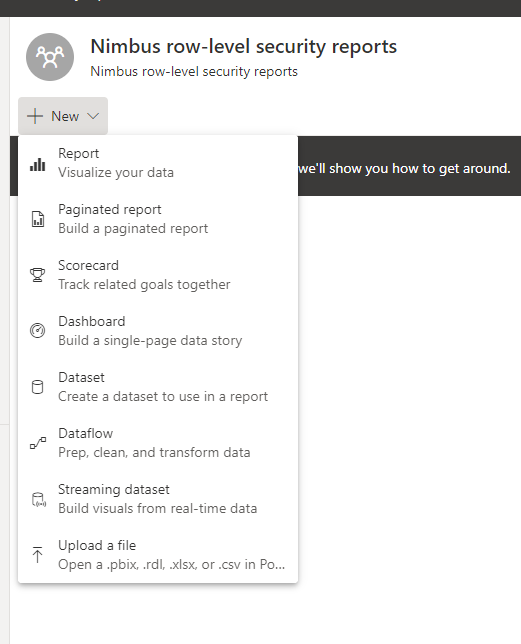
Second - upload the report file with the added row-level security
Third - Add all Nimbus Service Groups as Viewers to the workspace
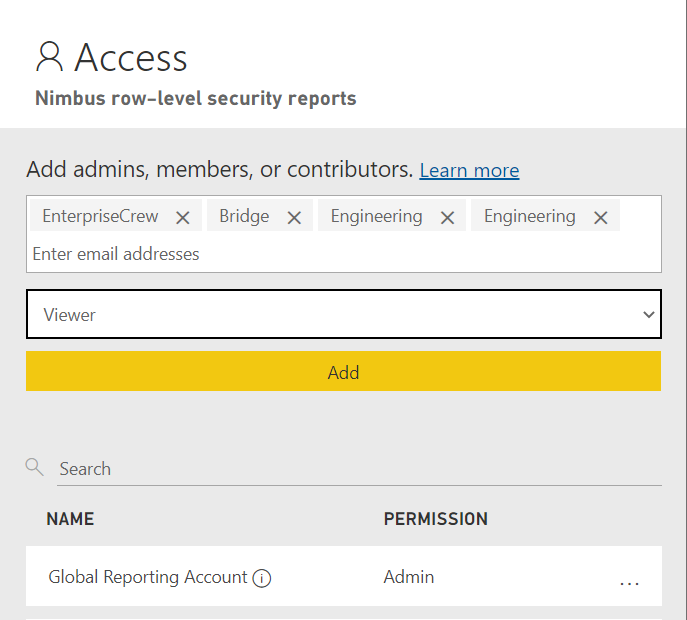
- Now manage the roles inside the Data Source (Semantic Model).

-
Go to > ... > Security > Row-Level-Security

-
Assign the users to the roles:

-
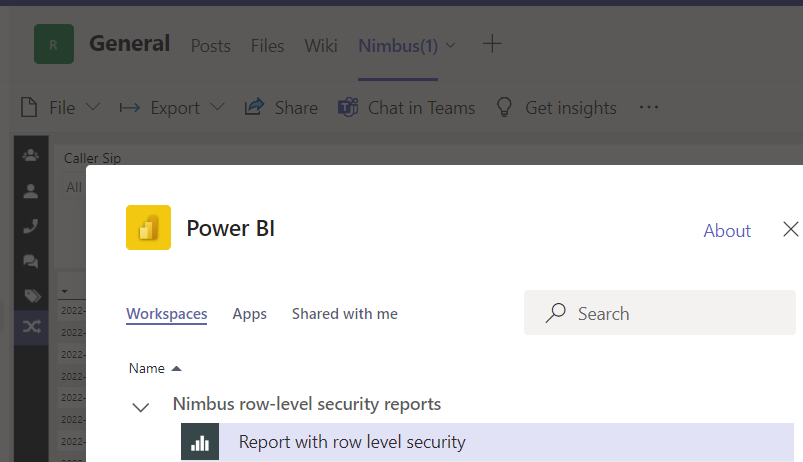
Finally, in MS Teams, share the report.
💡Note that any user with Power BI Pro license can share it, too.