ABOUT PAGINATED REPORTS
Paginated reports are designed to be printed or shared. They're called paginated because:
- They're formatted to fit well on a page.
- They display all the data in a table, even if the table spans multiple pages.
- They're also called pixel perfect because you can control their report page layout exactly.
💡 A major advantage of paginated reports is their ability to print all the data in a table, no matter how long. In long tables you can scroll to see all data. On a printed PDF however you would only see the rows of the current page.
🤔 Which use cases do paginated reports serve?
You need Paginated report when:
- Your table consists of multiple pages, e.g.
- ... a printed document for performance review.
- ... a long list of lost calls.
- You need a recurrent snapshot view of your service KPIs (daily/weekly/monthly) ...
- ... to be sent via mail to various recipients.
- ... saved into shared folder (SharePoint or OneDrive).
PREREQUISITES
- You need the official Power BI Report Builder desktop application from Microsoft to setup and publish paginated reports.
- Using the publishing feature requires a Premium/Premium per User license. These cost are outside of Luware scope and your Nimbus licensing. → See official Microsoft Power BI Premium documetation for pricing and details.
- Keep your Power BI Template Usage (Nimbus.pbix) ready for upload to the BI Workspace.
✅ Luware provides the following Power BI Files. Contact Luware Support or your Customer Success Specialist to get the latest version.
| Description | Filenames | |||||||||||||||
|---|---|---|---|---|---|---|---|---|---|---|---|---|---|---|---|---|
| Power BI Template / Report |
Nimbus.pbit / Nimbus.pbix ✅ When using a Template (.pbit), please add your connection parameters and credentials and perform a basic query. Afterwards, save it as a .pbix report, as it will use considerably lower RAM/CPU than a template. |
|||||||||||||||
| Paginated Reports |
|
|||||||||||||||
| Legacy Template | Nimbus_AppendLegacy.pbix 💡 A special variant to support users coming from our existing LUCS/TM products → As standalone "Nimbus" user you can refer to the "Power BI Template" instead. Learn more...Legacy Template Use cases Legacy support is available for LUCS/TM versions 3.5+
Example BI Template with both Nimbus and legacy data combined 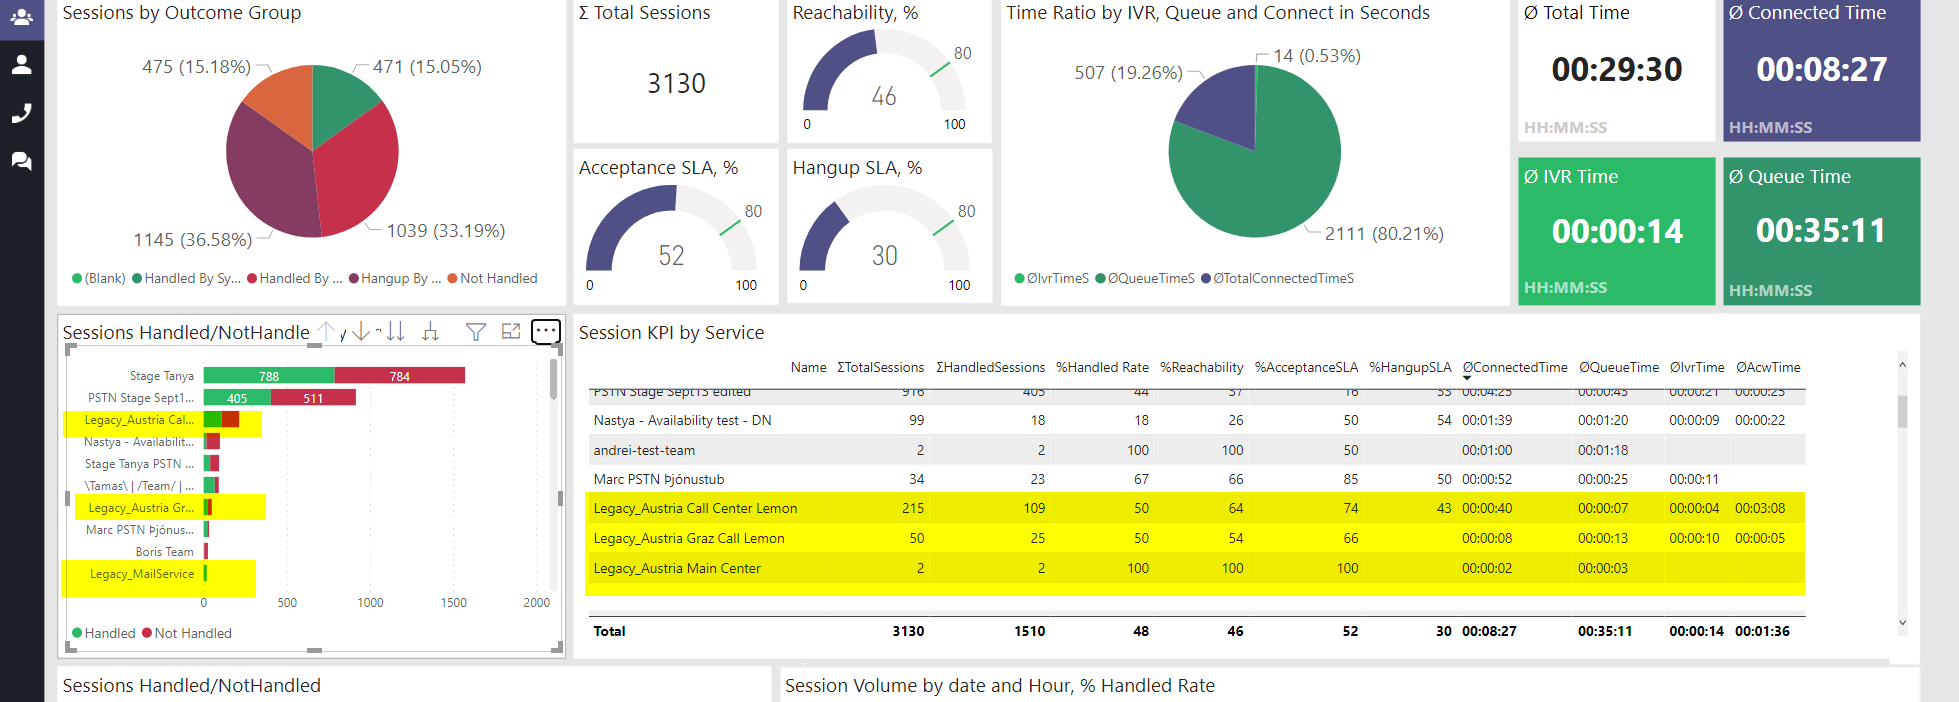 💡Note: Service names from legacy data sources have original GUIDs and "legacy_" prefix names, as shown highlighted here. You may need this template in 3 scenarios:
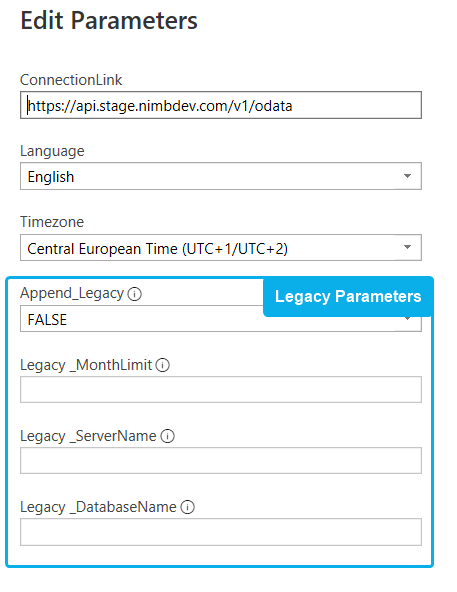
🔍 Refer to the → Parameters below for further notes on each scenario. Report parameters The legacy template contains a set of additional parameters for connecting to the LUCS or Team Manager SQL Server database.
Please note in regards to the 3 scenarios above:
Parameter settings in Power BI
|
How-To Steps
To use Paginated reports for Nimbus, perform the following steps:
Upload Report to Workspace
✅ A published Nimbus report (Nimbus.pbix) is required as a data source for paginated reports. We use the same data model from the Power BI report for paginated reports, without any modifications.
🔍 See here how to Publish to Power BI service. This step can be skipped if you already published your Power BI report to a workspace before.
Setup connection from paginated report to Power BI service dataset

🔍After the publishing process your paginated report will need to obtain data from the Power BI service. To make this work you need to setup a connection between them.
- Start the Power BI Report Builder application

- Open the paginated report file

- Sign in with your Microsoft account
- Navigate to Report > Data > Data Sources > Nimbus

- Select the Power BI Dataset.
Run and test the paginated report locally
✅ To test the connection you may want to run a paginated report locally first, directly using the Report Builder application.
- Click on Run

- Browse to the paginated report

- Click on Export:
- Check if the export to PDF file works and is satisfactory

- Check the printout from within Report Builder
- Check if the export to PDF file works and is satisfactory
Publish to Power BI Service
💡 The biggest advantage of publishing report to Power BI Service is automating delivery of paginated report files via email or to a shared folders using subscription function.
PREREQUIREMENTS
Using this feature requires a Premium/Premium per User license. These cost are outside of Luware scope and your Nimbus licensing.
→ Refer to the official Microsoft Power BI Premium documentation for details.
- Navigate to File > Publish > Power BI Service
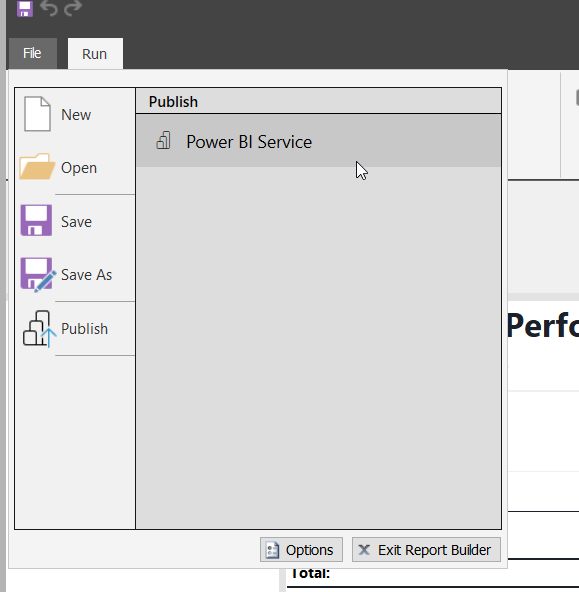
2.Select a Premium Workspace. → Look for the diamond icon next to the workspace name.
3. Give your report descriptive name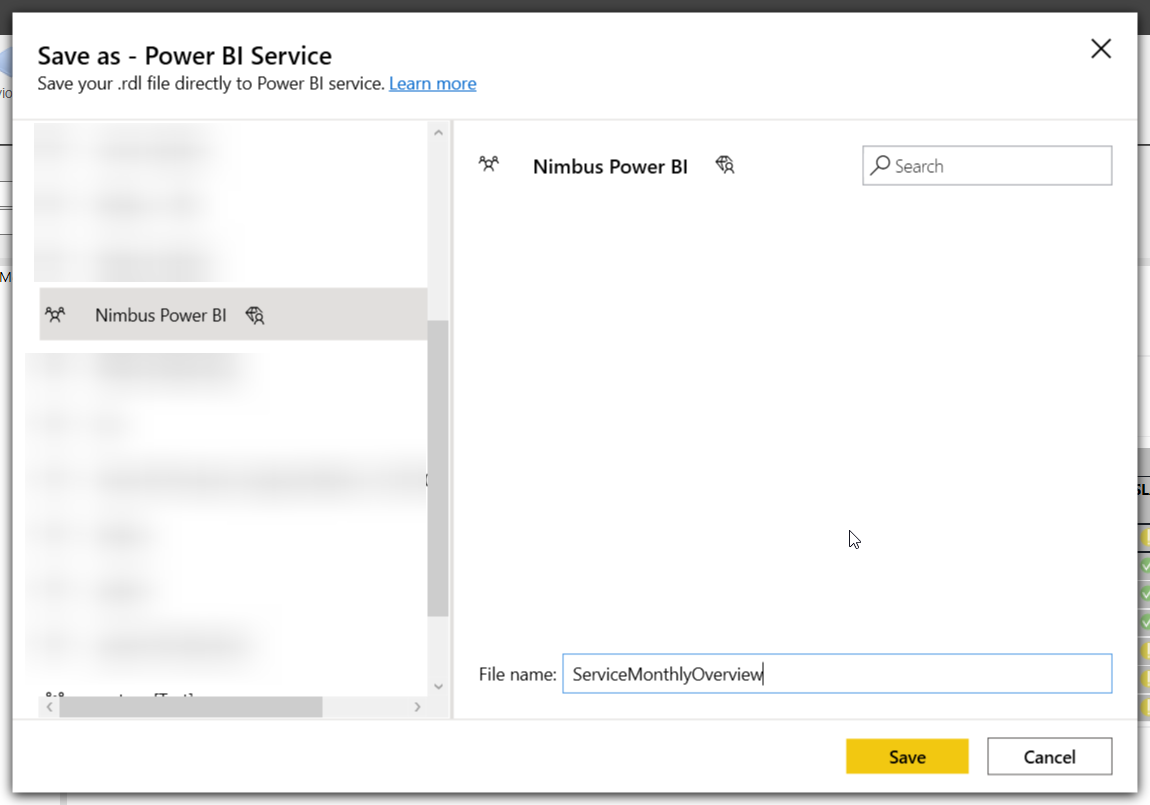
4. Click on Save
5. Check that your report is now available at the Power BI web Site app.powerbi.com
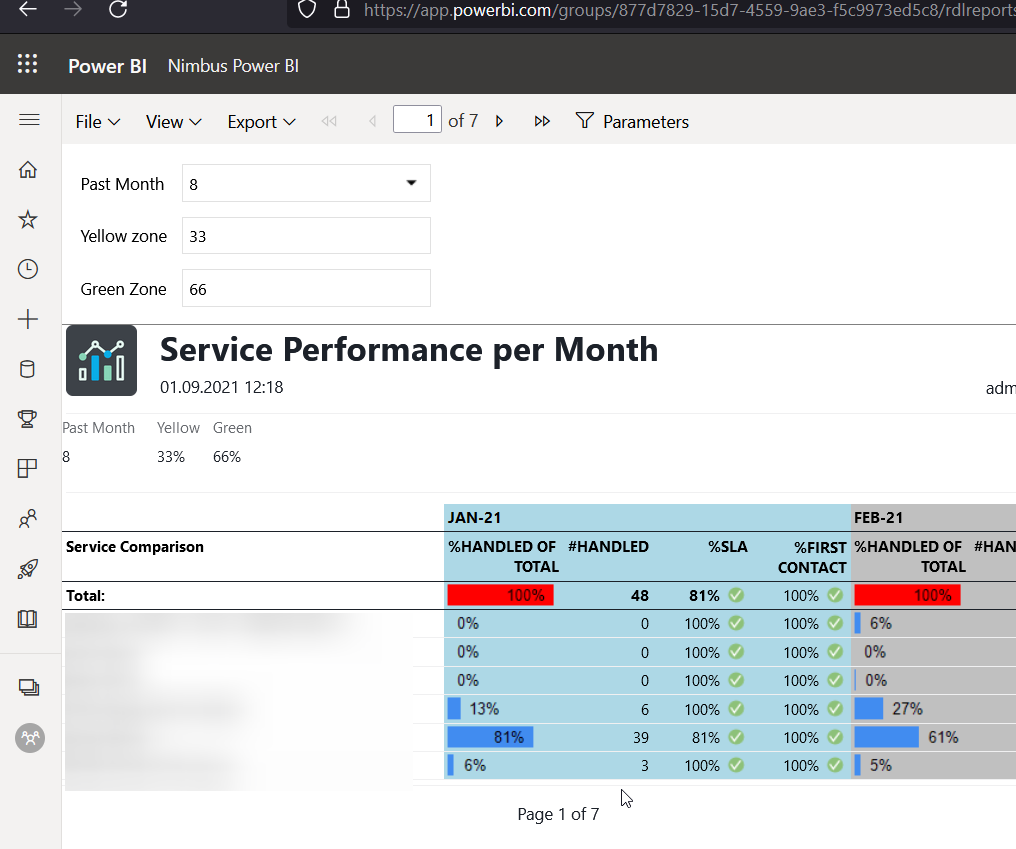
Browse report in Power BI Service
- Open the report
- Browse within the report to test data fields and connections
- Check if It is possible to export the paginated report to a PDF file
Paginated Report subscription
🔍 You can set up Email-subscriptions for either yourself or others in order to directly access paginated reports in the Power BI Service.
→ Refer to: https://docs.microsoft.com/en-us/power-bi/consumer/end user-subscribe
PREMIUM PER USER LIMITATION
When your report is published into a "premium per user" workspace, keep the following limitations in mind (see Microsoft FAQ):
- You may only create subscriptions to Email-addresses inside your organization.
- Recipient Email addresses outside of your organization can only be added for reports or dashboards backed by Premium capacity.
→ In order to avoid this limitation you may use a Power flow with "Email" action, or save a Power BI paginated report to OneDrive for Business.
- Open report and click on Subscribe button
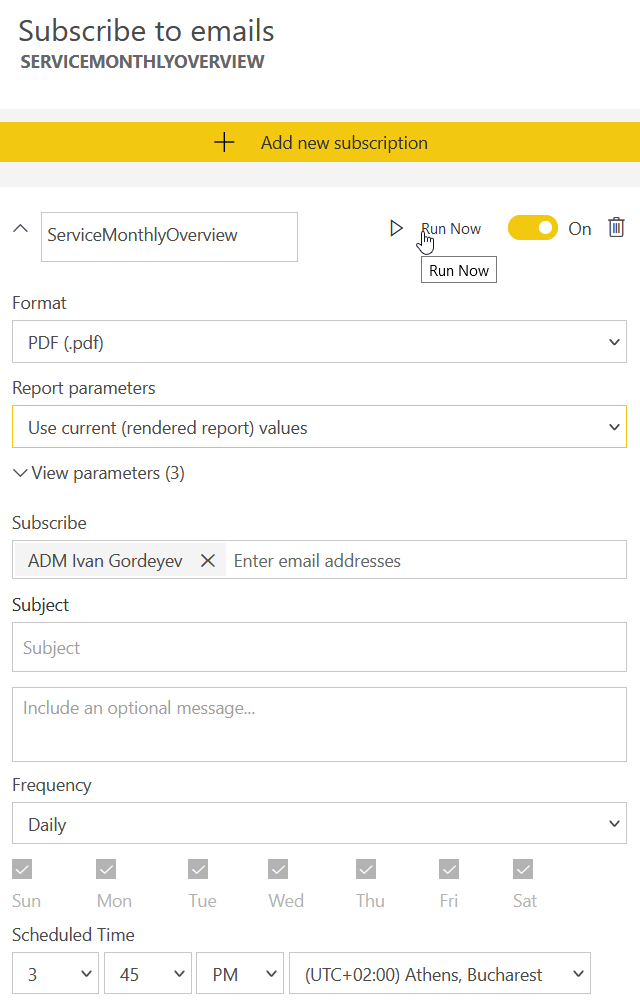
2. Click Add New Subscription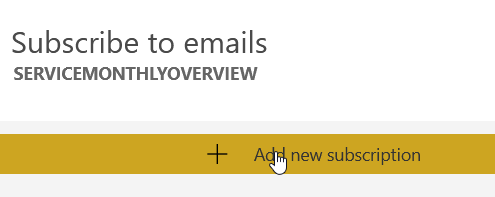
- Specify subscription options:

- Report parameters
- Recipients list
- Email subject
- Report file name
- Delivery schedule
- Save subscription
Additional Notes on Subscriptions
CONSIDERATIONS ON PAGINATED REPORT SUBSCRIPTIONS
- You don't need edit permissions to the paginated report to create a subscription for yourself. However you must have edit permissions to create a subscription for someone else. If you have at least a "Contributor" role in the workspace where the paginated report is situated, then you can create subscriptions for others. 🔍 Read more about Roles in workspaces.
- Unlike subscriptions for dashboards or Power BI reports, your subscription contains an attachment of the entire report output. The following attachment types are supported: PDF, PowerPoint presentation (PPTX), Excel Workbook (XLSX), Word Document (DOCX), CSV file, and XML.
- You may include a preview image of the report in the email body. This is optional, and may differ slightly than the first page of your attached report document, depending on the attachment format selected.
- The maximum report attachment size is 25 MB.
- You can subscribe other users to paginated reports that connect to any currently supported data sources, including Azure Analysis Services or Power BI datasets. Keep in mind the report attachment reflects the data based on your permissions, just as SQL Server Reporting Services does today.
- Email subscriptions can be sent with either the currently selected or default parameters for your report. You may set different parameter values for each subscription you create for your report.
- If your report author has set expression-based parameters (for example, the default is always today's date), the subscription uses that as the default value. You can change other parameter values and choose to use current values, but unless you explicitly change that value as well, the subscription uses the expression-based parameter.
- There is no "Data Refresh" option for frequency with paginated reports. You always get the latest values from the underlying data source.
🔍 Refer to: https://docs.microsoft.com/en-us/power-bi/consumer/paginated-reports-subscriptions
Report delivery using Power Automate
💡If you have a Power Automate license you may use it to deliver you reports to multiple different destinations e.g. SharePoint and OneDrive folders, Emails outside your organization.
An example flow creation is described below.
ABOUT POWER AUTOMATE PRICING
You can use Microsoft Power Automate to automatically create and mail paginated reports based on rules and conditions of your choice. Power Automate offers a "Per User per Month" subscription model.
✅ A subscription is needed to create a cloud flow to send out paginated reports to recipients of your choice. Refer to https://flow.microsoft.com/en-us/pricing/.
💡 You may specify an unlimited number of email addresses with one per-user license.
☝ Note that pricing and feature scope may change as imposed by Microsoft. Luware does not control these factors, nor offer 3rd-party support for any BI-related hosting services.
Create a Scheduled Flow
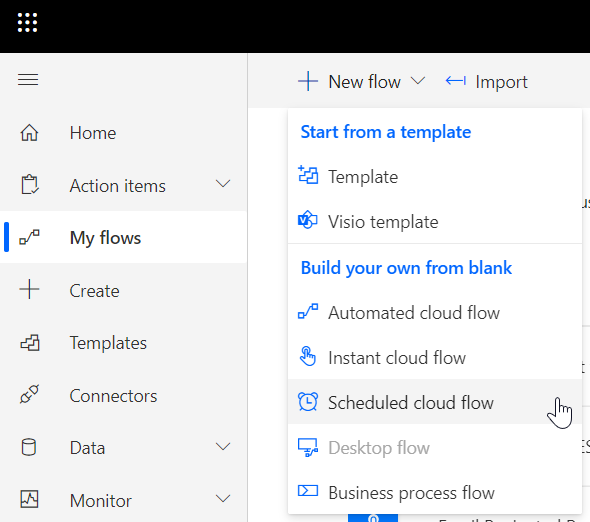
- Go to https://us.flow.microsoft.com
- Head to "My flows - New Flow"
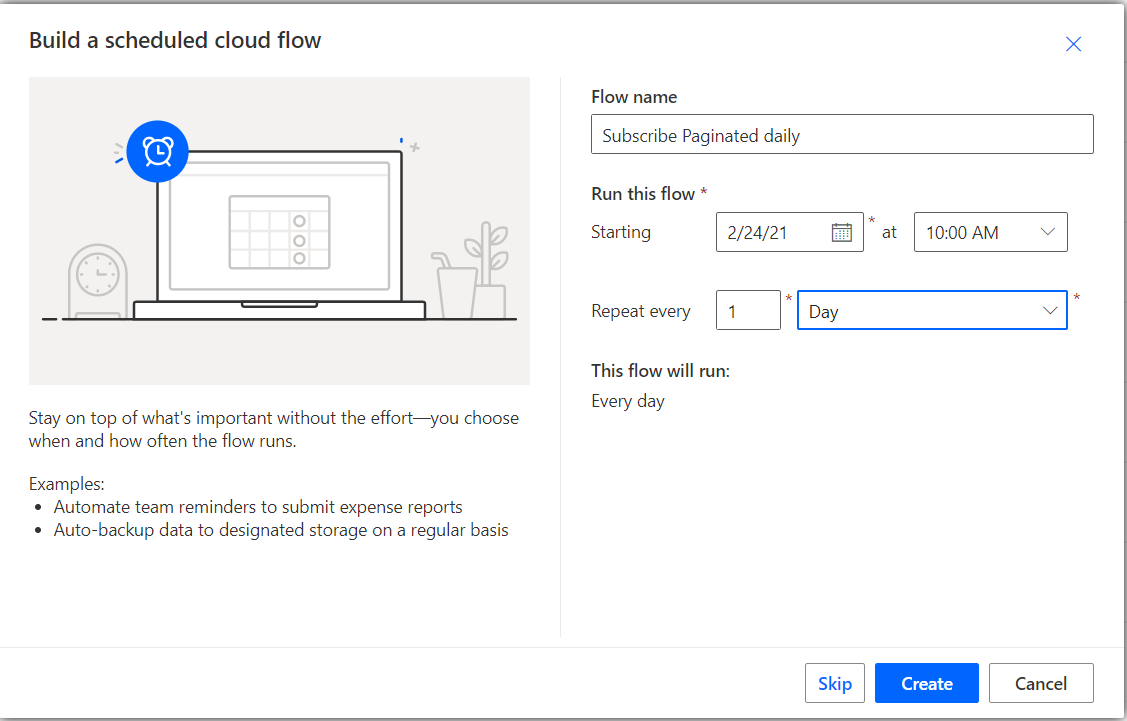
- Select “Scheduled cloud flow”
- Specify flow name and recurrence schedule and press “Create”
Create Export File Step
- Add new step “Export To File For Paginated Reports”
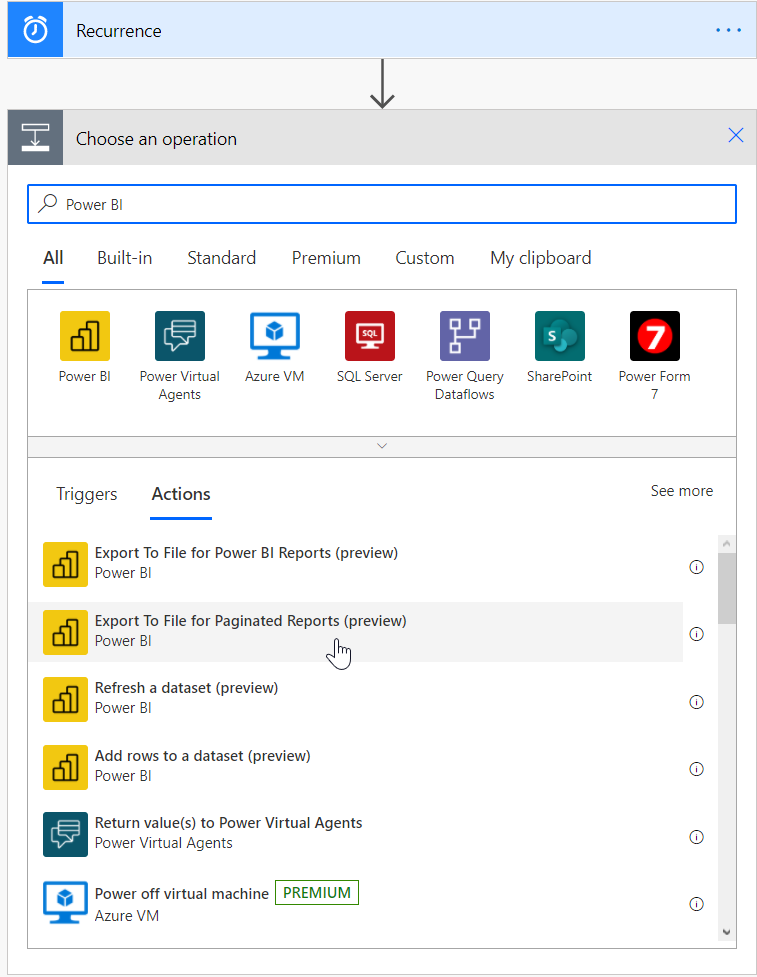
- Configure step for paginated report you are going to subscribe:
- Workspace
- Report
- Export Format
- You may also specify parameter values, in order to do this you go to parameters section specify parameter name and parameter value.
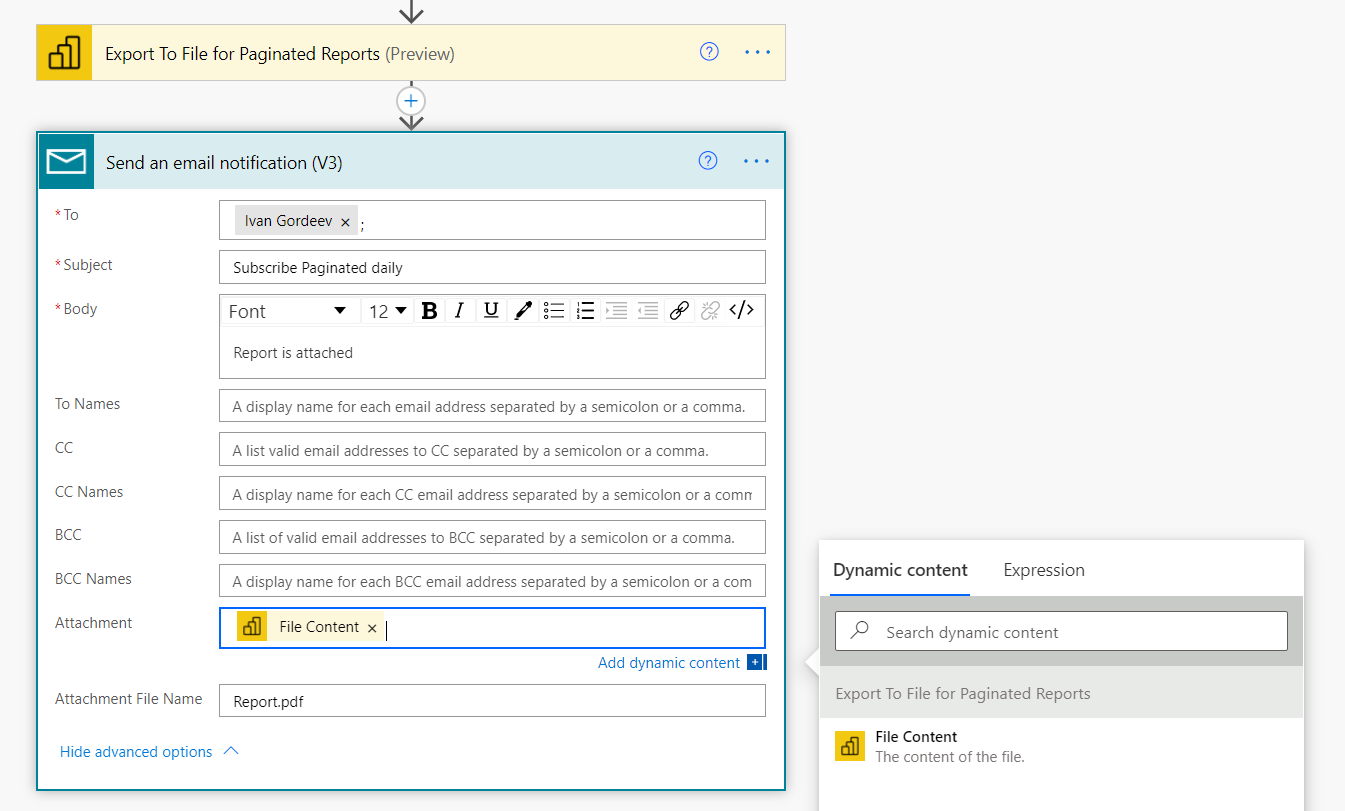
Configure email step
- Add new step “Send Email notification”
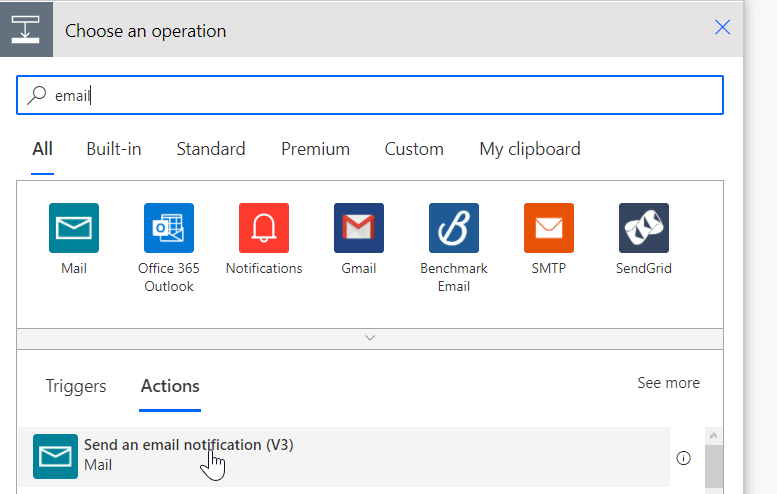
- Configure the "recipient email addresses".
- Expand advanced options and configure
- Attachment - File Content
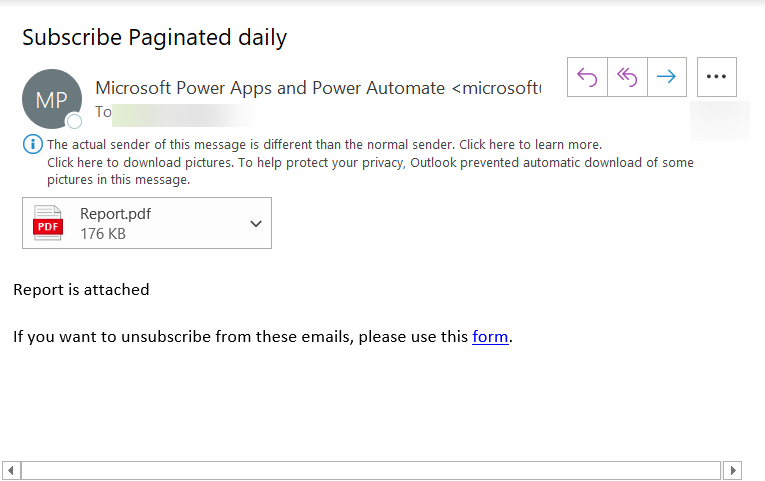
- Attachment File Name - File name, e.g. “Report.pdf”
Test your flow
- Don't forget to test if your flow is working correctly, especially when you add special trigger conditions.
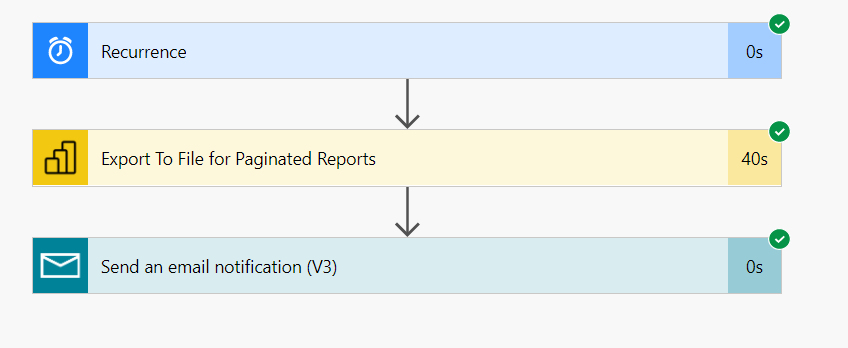
- Check your email to see if the report is attached correctly.