Speech recognition is the process of converting spoken words into written text or commands. Speech Recognizers can be used for various purposes, such as Live Caption & Transcription or voice input. In this use case, we will configure a Speech Recognizer in Azure Portal and add it in Nimbus.
PRECONDITIONS
You require tenant administrator rights to add and configure Speech Recognizers in Nimbus Admin.
Disclaimer: Support for Azure Billing & Cognitive Services
☝ The usage of Microsoft Azure AI Services for Speech1 and AI2 will cause additional costs outside your Nimbus subscription, which are exclusively determined by Microsoft.
Please note:
- Nimbus Support does not cover pricing discussions or make recommendations on Microsoft Azure Services. → Please inform yourself via the references below on pricing models.
- Nimbus Support can not provide any technical help, insights or solutions on Azure Cognitive Service related technical problems.
1 Azure Speech Services: https://azure.microsoft.com/en-us/pricing/details/cognitive-services/speech-services/
2 Generative AI Services (Copilot Studio):
Configuring a Speech Service in Azure Portal
- Go to Azure Portal and sign in.
- On the Azure home page, search for “Speech services” in the search bar and select it from the results.
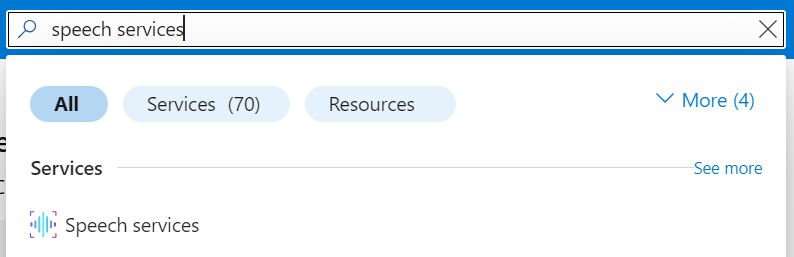
- On the Speech services page, click “Create” to create a new speech service.
- On the Create Speech Services page, select your subscription, the resource group, and the region.
- Enter a name for your speech service.
-
Select the pricing tier that suits your needs.
💡You can use the F0 (free) tier which allows up to 5 hours of free speech recognition per month. - Click Review + create to review your settings and then Create to create your speech service.
-
Wait for the deployment to complete.
⮑ You will see a notification once your speech service is ready to use. - Go to the overview page of your speech service where the details of your speech service are shown.
- For registering your speech service in Nimbus, you will need one of the two API keys and the location/region code.
🧠Copy/save the keys and region code for later use.
Adding Your Speech Service in Nimbus
- In Nimbus Admin, go to Configuration > Virtual Assistants > Speech Recognizers.
- Click Create new.
- Enter a name and select the Organization Unit for your Speech Recognizer.
- If not already done, select Type:“Azure AI Services”.
⮑Region and API selector fields become available. -
🧠Define:
- The region of your speech service and
- …enter your API key copied earlier from Azure.
- In the language section, you can add up to 4 different languages for use with the Speech Recognizer.
-
Click Create to save and create your Speech Recognizer.
⮑ Your Speech Recognizer is ready to use for Live Caption & Transcription and for voice input analysis e.g. in the Input Customer (Advanced)
Using Your Speech Recognizer
🔎Once your Speech Recognizer is set up, you can use it for Transcription (and Live Caption) purposes and use it within the Conversation Handling Workflow Activity: “Input Customer (Advanced)”. Also refer to the related pages to learn more.