The main goal is to showcase how Click to Call works in conjunction with Salesforce via the Contact view.
PRECONDITIONS
- A Nimbus service is set up and configured for Outbound Service Call / Call On Behalf via Distribution Service Settings > Outbound Service Call.
- Nimbus Assistant is installed on your agent's workstations → this will register the Click to Call protocol recognition and related call functionality.
- You need a Salesforce admin account.
 Luware does not directly support nor endorse Salesforce with this Use Case, descriptions are examples. UI and methods in Salesforce may change without notice.
Show Icon Legend
| 💡 = A hint to signal learnings, improvements or useful information in context. | 🔍 = Info points out essential notes or related page in context. |
| ☝ = Notifies you about fallacies and tricky parts that help avoid problems. | 🤔 = Asks and answers common questions and troubleshooting points. |
| ❌ = Warns you of actions with irreversible / data-destructive consequence. | ✅ = Intructs you to perform a certain (prerequired) action to complete a related step. |
Create a custom field in Salesforce
- In Salesforce, go to Settings > Object Manager > Contact > Fields & Relationships
- Create a new field of type "Formula" with the following code
HYPERLINK("nimbus-call:"+Phone+":your-nimbus-cc@yourorganization.com", "Dial out") - Then, set it's " Formula Return Type" to Text.
- Once you save, the field is automatically added to the "Details" section of the contact view.
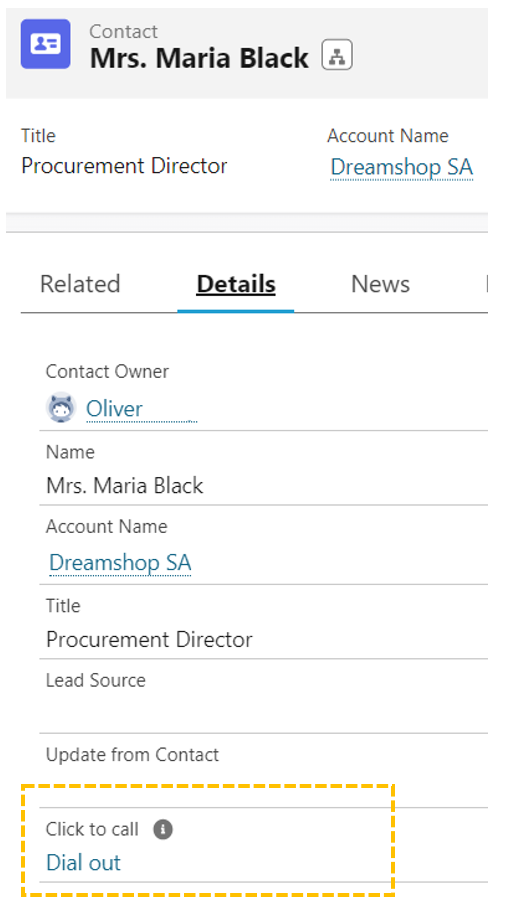
→ The link will dial out using Nimbus Assistant and the service with UPN your-nimbus-cc@yourorganization.com. It dials the number which is saved in the Phone field of the customer.
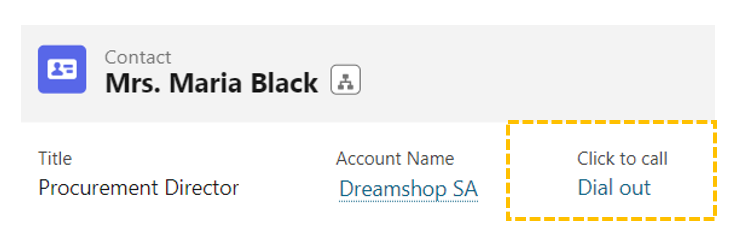
Add the click-to-call field to the contact view header
Now we would like to add this field also in the header section of the contact view
- In Salesforce, go to Settings > Object Manager > Contact > Compact Layouts
- Open "System Default" and click "Clone"