Speech recognition is the process of converting spoken words into written text or commands. Speech Recognizers can be used for various purposes, such as Live Caption & Transcription or voice input. In this use case, we will configure a Speech Recognizer in Azure Portal and add it in Nimbus.
PRECONDITIONS
You require tenant administrator rights to add and configure Speech Recognizers in Nimbus Admin.
INC Azure Billing Cognitive Services
Disclaimer: Support for Azure Billing & Cognitive Services
☝ The usage of Microsoft Azure AI Services for Speech1 and AI2 will cause additional costs outside your Nimbus subscription, which are exclusively determined by Microsoft.
Please note:
- Nimbus Support does not cover pricing discussions or make recommendations on Microsoft Azure Services. → Please inform yourself via the references below on pricing models.
- Nimbus Support can not provide any technical help, insights or solutions on Azure Cognitive Service related technical problems.
1 Azure Speech Services: https://azure.microsoft.com/en-us/pricing/details/cognitive-services/speech-services/
2 Generative AI Services (Copilot Studio):
Configuring a Speech Service in Azure Portal
- Go to Azure Portal and sign in.
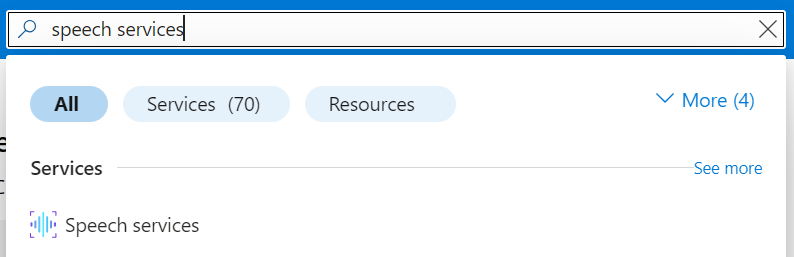
- On the Azure home page, search for “Speech services” in the search bar and select it from the results.
- On the Speech services page, click “Create” to create a new speech service.
- On the Create Speech Services page, select your subscription, the resource group, and the region.
- Enter a name for your speech service.
-
Select the pricing tier that suits your needs.
💡You can use the F0 (free) tier which allows up to 5 hours of free speech recognition per month. - Click Review + create to review your settings and then Create to create your speech service.
-
Wait for the deployment to complete.
⮑ You will see a notification once your speech service is ready to use. - Go to the overview page of your speech service where the details of your speech service are shown.
- For registering your speech service in Nimbus, you will need one of the two API keys and the location/region code.
🧠Copy/save the keys and region code for later use.
Adding Your Speech Service in Nimbus
- In Nimbus Admin, go to Configuration > Virtual Assistants > Speech Recognizers.
- Click Create new.
- Enter a name and select the Organization Unit for your Speech Recognizer.
- If not already done, select Type:“Azure AI Services”.
⮑Region and API selector fields become available. -
🧠Define:
- The region of your speech service and
- …enter your API key copied earlier from Azure.
- In the language section, you can add up to 4 different languages for use with the Speech Recognizer.
-
Click Create to save and create your Speech Recognizer.
⮑ Your Speech Recognizer is ready to use for Live Caption & Transcription and for voice input analysis e.g. in the Input Customer (Advanced)
Using Your Speech Recognizer
🔎Once your Speech Recognizer is set up, you can use it for Transcription (and Live Caption) purposes and use it within the Conversation Handling Workflow Activity: “Input Customer (Advanced)”. Also refer to the related pages to learn more.